

Welcome back, tech nerds! This week's exercise is an extension of our kickoff session - we are going to jazz up your blog (Part 1) and create a Youtube account/channel (Part 2). We also want to introduce you to other blog sites available to you. We are using Blogger for Tech Nerd Camp 2.0 because it's linked to our school Gmail accounts through Google Apps for Education, but you may want to consider a different type of blog to use to communicate with students and parents. Students under 13 can't create a blog using blogger and because it is a Google App, their account will get shut down if they try to create a blog. Check out some different options that are designed to be used by classroom teachers and students.
- Last week we showed you how to follow our blog (go to your blog home page by clicking on the B in the top left corner, the reading list is on the bottom). Now, you should choose at least 5 of your fellow tech nerds to follow as well. You'll also be responsible for commenting on 3 people's posts or products for each activity.
- Change the layout of your blog:
- Add some gadgets
- Hint,if you ever feel trapped like Wesley and Buttercup in the fire swamp with its lightning sand, flame spurts and ROUS (rodents of unusual size) the first place you should look for a way out is YouTube. Type in what you are trying to do, like "add gadgets on blogger" and you will find several tutorials to aid you in your quest like this one:
- Good luck adventurer, may you find what you seek.
- For this task, add at least 3 gadgets. Here is a list of some useful gadgets to add.
- Blog List - You can take all of the blogs that you follow and add them to your blog with this gadget. When I added this one I had it show the Icon and the Title of the most recent item. Then you click on the Add to List button and select all of the blogs you are following.
- Pages - You are going to add pages to your blog. These pages are basically web pages that you have attached to your blog. What you are reading right now is on a page that is attached to our blog. You could add a page for each of your classes or think of many different uses for pages. To easily see those pages from your blog you can add this Pages gadget.
- Link List - You can create a list of links to important websites you use in class. This link is visible from your blog.
- Search Box - allows people to search your blog using key words. When you choose this one, make sure you pay attention to the boxes that are checked. If "the Web" is checked the search box will search the whole web not just your blog.
- Blog's Stats - Keep track of how many people view your blog with this blog stats gadget.
- Image - Add an image to your blog with this gadget
3. Change to template of your blog (optional). Choose the template tab from list of options on your blog homepage. At the top you can customize your current template by adding backgrounds, adjusting the width of the different sections of your blog, and changing the basic layout of your blog. You can also choose from a larger variety of standard templates that you can view as you scroll down the page.
4. Create a page for your blog. A page is more like a website than a blog. The content doesn't update with each blog post, instead it is more static. You are currently reading a page attached to the Tech Nerd Camp blog. Pretend you are going to use this page for your class. What type of content could you put on a page. Keep in mind that you can have multiple pages.
Watch the tutorial to see how to create a page and add it to your blog. If you are feeling brave, watch the second half of the video to see a 2nd type of page that you can add to your blog.
6. In your blog post for the week, embed a video or photo. Search Youtube for a video you would use in your classroom. Embed the video and explain why it would be useful to you. (When you create your post, there are buttons to either link or embed a photo or a video as part of the menu).


Part 2: Creating a MV YouTube Channel
Your MVGmail account is tied to YouTube, so if you are logged in to your account already, you can easily access your school YouTube account. The following instructions will also show you how to customize your privacy settings as well as block out pesky advertising. (Note: Even if you have an account already and have checked your privacy settings, it's worth checking them again. YouTube has reworded their options, so my account was more public than I wanted it to be.)
1. Log into your Mounds View Apps (email, calendar, etc.) account.
_________________________________________________________________________________
Reflect and Blog:
Your MVGmail account is tied to YouTube, so if you are logged in to your account already, you can easily access your school YouTube account. The following instructions will also show you how to customize your privacy settings as well as block out pesky advertising. (Note: Even if you have an account already and have checked your privacy settings, it's worth checking them again. YouTube has reworded their options, so my account was more public than I wanted it to be.)
1. Log into your Mounds View Apps (email, calendar, etc.) account.
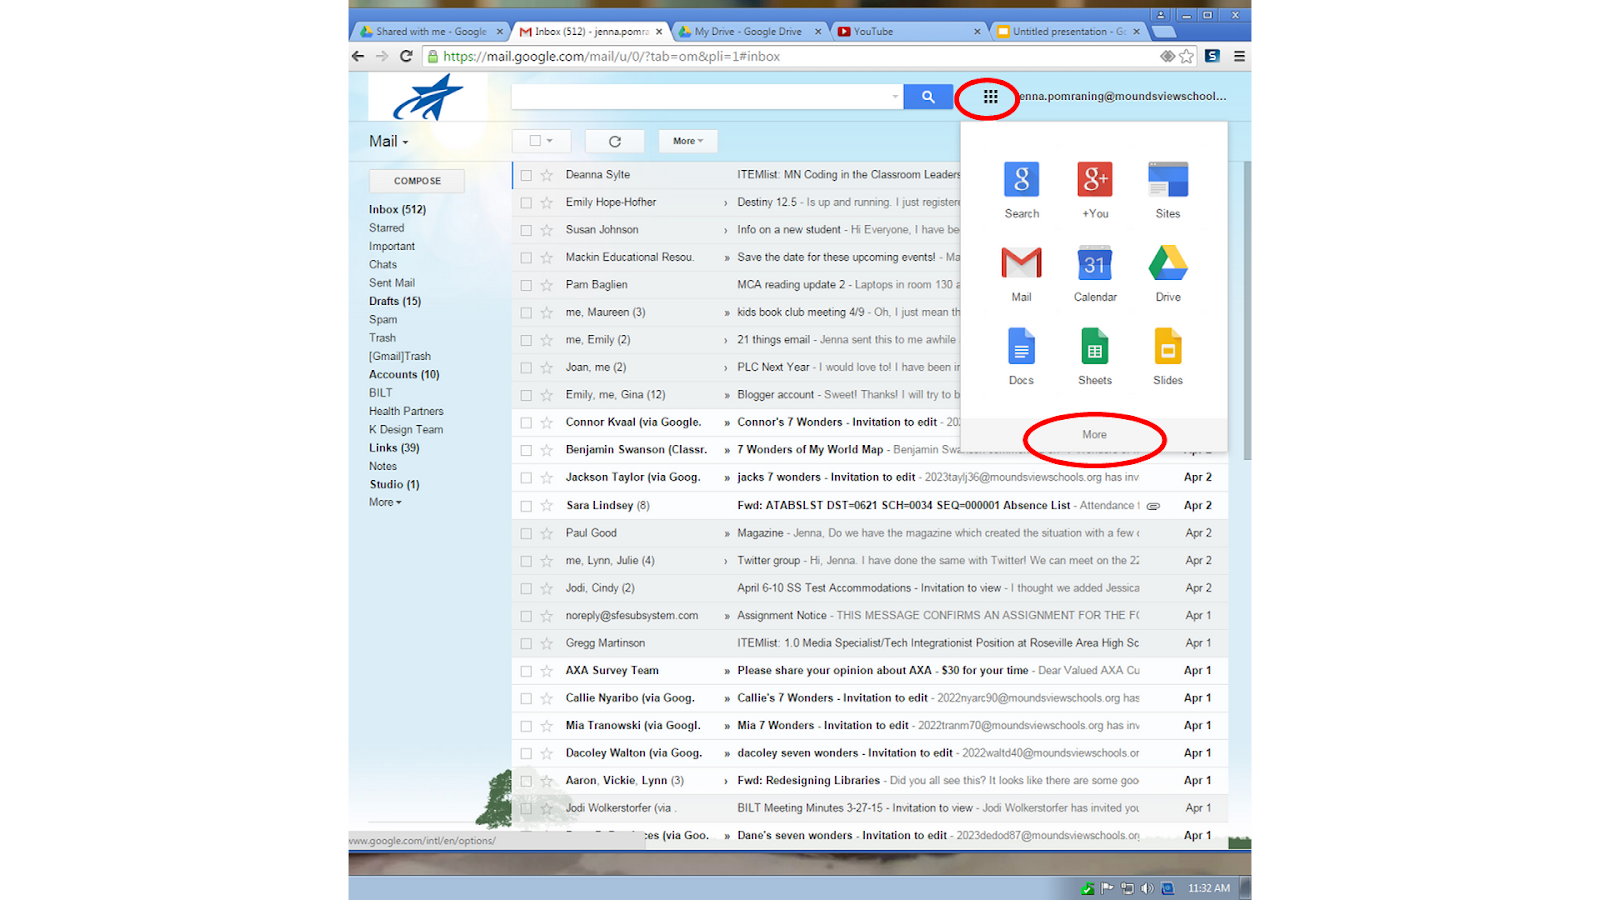
2. Click on "more" in the Rubik's cube/waffle icon at the top of the page to find YouTube.
3. At the top right, you will see your photo, if you've added one, or a blue person if you haven't. Click on it and click on settings. 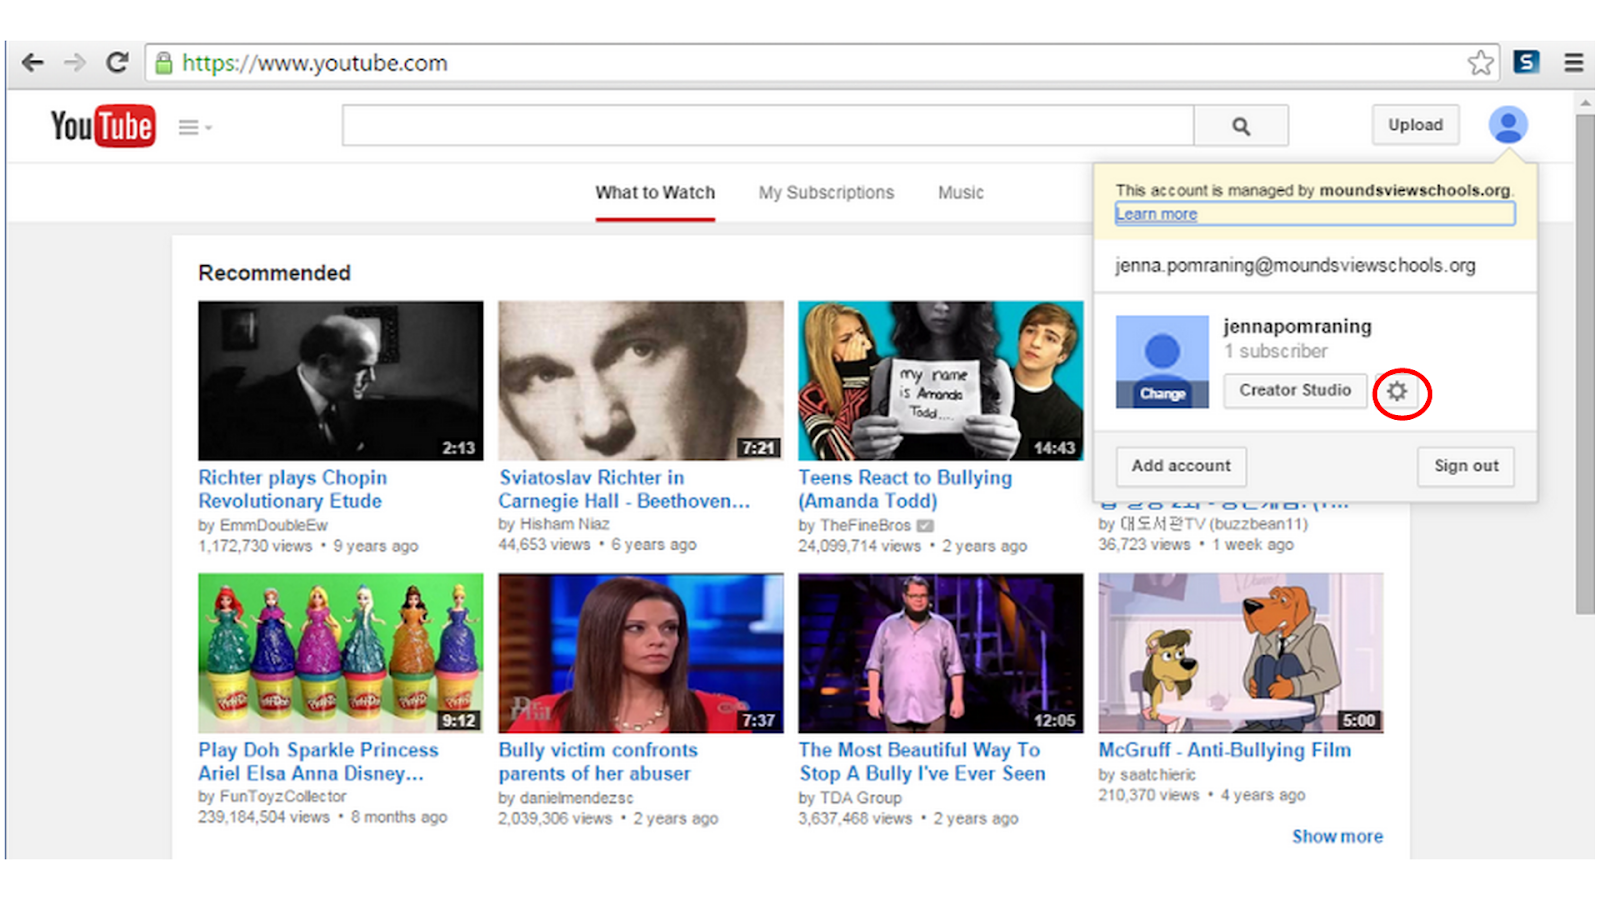
4. Check out the different pages of account settings. The most important are the privacy settings. Decide if you want students and parents (and whoever else may come across it) to have access to your list of favorite videos and subscriptions). Hit save on each page that you change.
5. In the overview section, select "Create a channel." 
6. Use your full name for your username, first and last with no spaces. If your name is not available, add a number at the end to create a unique username. Fill in the rest of the information.
7. Once you have created a channel, you should go back to settings. On the Overview page, click on View Additional Features. We would recommend going to Upload Defaults to disable comments and going to Advanced to disable ads from appearing next to your videos.
_________________________________________________________________________________
- How could a blog be useful in your classroom or professional life? If you're not sure of the potential benefits, do a Google search for something like "using blogs in the classroom".
- How could YouTube be useful in your classroom or professional life?
Comment on 3 other nerds' posts.
Further Investigation - Additional blogging tools
Setting Guidlines and Expecations for a Blog - A blog post about creating Guidlines for students when they are blogging in class.
Ideas for how to use Blogger in the classroom
KidBlog:
Ideas for how to use Blogger in the classroom
KidBlog:
KidBlog.org is a site developed by a local teacher that has gained rave reviews among educators. With KidBlog, you can have much more control over the environment to which you expose your students and it's simple to use. (parent permission for students under 13)
EduBlogs:
Edublogs.org is a nice blend between the beauty of Blogger and the safety of KidBlog. Check it out by watching this tutorial.
Weebly:
education.weebly.com is one of many free website/blog creators on the web. You can use it to communicate with students and parents, host a blog, attach or embed videos and assignments, embed a class calendar or have your students create their own sites. (Users under 13 must use education.weebly.com, not weebly.com. You also need written parental permission for under 13.)
No comments:
Post a Comment